Cool down with this fun and easy marshmallow ice cream! It features fluffy marshmallows and cream, making every scoop a dreamy treat. You don’t need an ice cream maker, which is a win!
Trust me, this ice cream is a hit at every party. I love serving it topped with chocolate or fresh fruit—it’s a sweet surprise that everyone enjoys. Just whip, freeze, and enjoy! 🍦
Key Ingredients & Substitutions
Heavy Whipping Cream: This is key for a rich and creamy texture. If you’re looking to lighten it up, use coconut cream or a blend of whole milk and softened cream cheese, though it won’t be as creamy.
Marshmallow Creme: This is what gives the ice cream its sweetness and fluff. If needed, you can replace it with homemade marshmallow fluff made from egg whites, sugar, and vanilla, but that requires some extra steps!
Mini Marshmallows: These add texture and fun. If you can’t find mini ones, use regular marshmallows, just cut them smaller. You can also toast any leftover marshmallows to make s’mores-flavored treats!
Waffle Cones: I love serving this ice cream in waffle cones for the crunch, but you can also use bowls or even make homemade cones if you’re feeling ambitious!
How Do I Whip the Cream to Perfection?
Whipping cream properly is crucial for the fluffiness of your ice cream. Here’s how to do it:
- Start with a chilled bowl and beaters—keep them in the freezer for 15 minutes before using.
- Pour the cold heavy whipping cream into the bowl and begin mixing on medium speed.
- Watch closely—stop when you see soft peaks forming, meaning the cream holds its shape, but isn’t too stiff. This makes your ice cream light and airy!
Avoid overmixing, as this can turn your cream into butter. You want softness here!
How to Make Easy Toasted Marshmallow Ice Cream
Ingredients You’ll Need:
- 2 cups heavy whipping cream, cold
- 1 (7 oz) jar marshmallow creme (fluff)
- 1/2 teaspoon vanilla extract
- Mini marshmallows, for toasting (about 1 cup)
- Waffle cones or bowls for serving
Time Needed:
This delicious ice cream takes about 15 minutes of prep time, plus a freezing time of at least 4 hours to set. So, it’s a quick mix-and-freeze treat that you can whip up and enjoy later!
Step-by-Step Instructions:
1. Toast the Marshmallows:
Begin by preheating your broiler or getting a kitchen torch ready. Spread the mini marshmallows out on a baking sheet and toast them until they are golden brown and puffed up. Keep an eye on them as they can burn quickly! Once toasted, set them aside to cool while you prepare the ice cream mixture.
2. Whip the Cream:
In a large mixing bowl, pour in the cold heavy whipping cream. Using an electric mixer, beat the cream on medium-high speed until soft peaks start to form. This should take about 3-4 minutes. Be careful not to overbeat; you want it light and fluffy!
3. Mix in the Marshmallow Creame:
Gently fold in the jar of marshmallow creme and the vanilla extract into the whipped cream. Use a spatula and mix carefully to keep the whipped cream’s fluffy texture intact.
4. Add Toasted Marshmallows:
Now, fold in most of the toasted mini marshmallows, saving a few for garnishing later. This adds a wonderful texture and flavor to your ice cream!
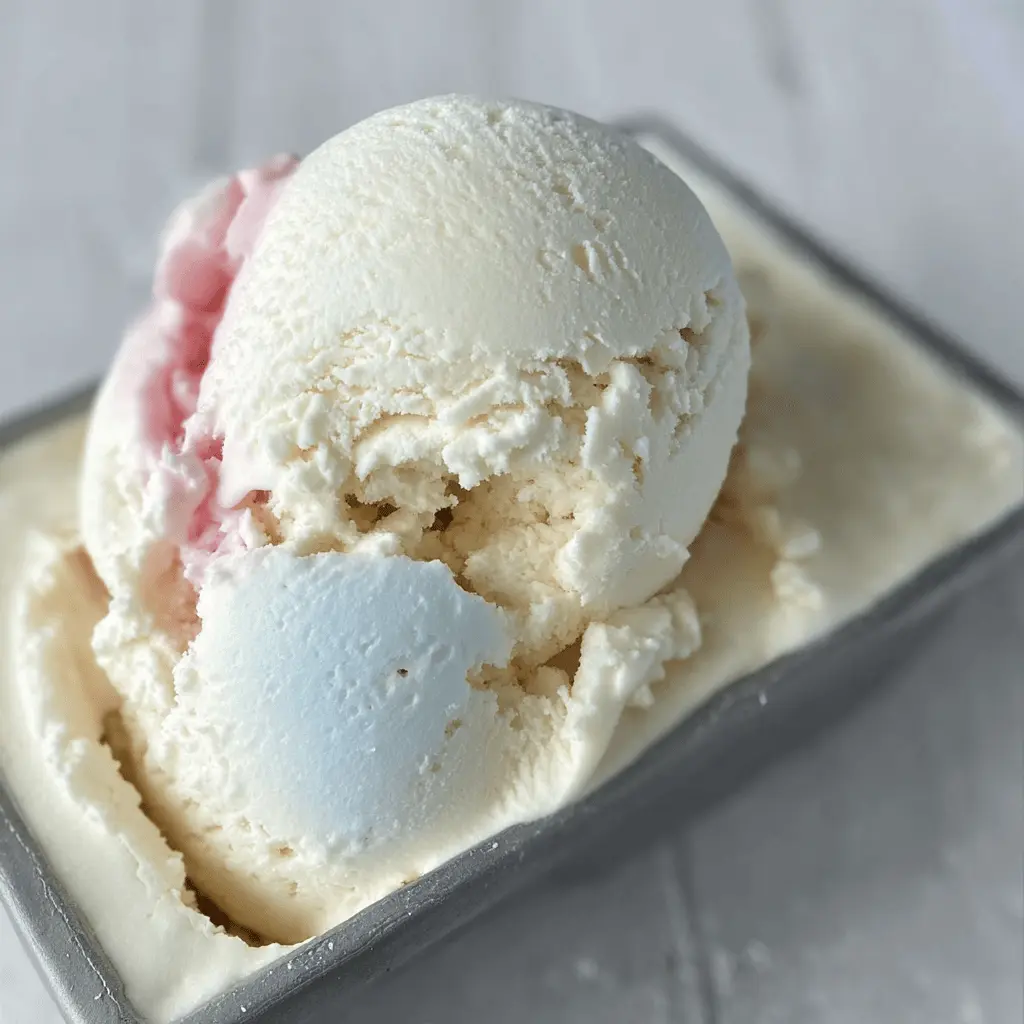
5. Freeze the Mixture:
Transfer the ice cream mixture into a freezer-safe container, smoothing the top with a spatula. Cover the container tightly with a lid or plastic wrap.
6. Chill and Set:
Place the container in the freezer and let it freeze for at least 4 hours, or until firm. It’s worth the wait—it’ll be so delicious!
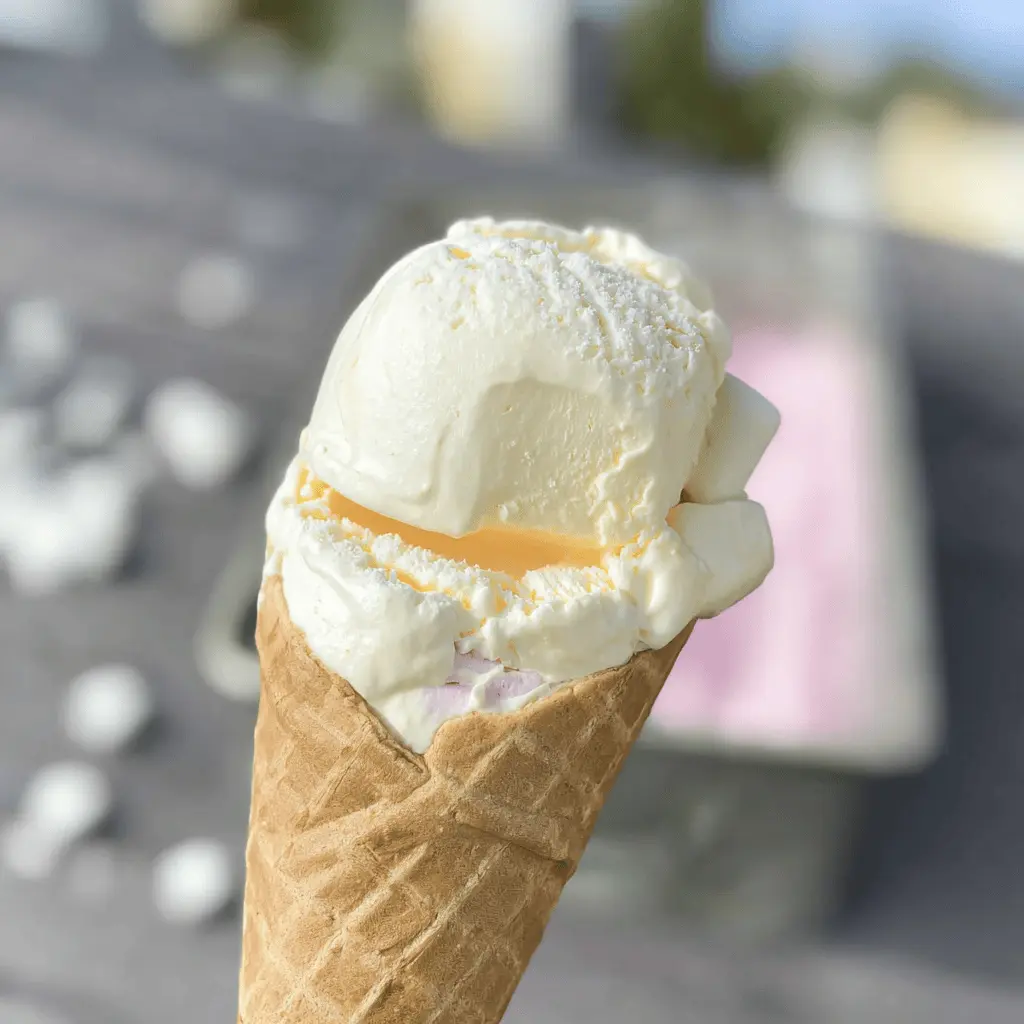
7. Serve and Enjoy:
When you’re ready to enjoy your toasted marshmallow ice cream, scoop it into waffle cones or bowls. For a fun finishing touch, top each serving with a toasted mini marshmallow.
Dig in and savor your creamy, dreamy toasted marshmallow ice cream! It’s the perfect summer treat that everyone will love!
FAQ for Easy Toasted Marshmallow Ice Cream
Can I Use Heavy Cream Alternatives?
Yes, you can substitute heavy whipping cream with coconut cream for a dairy-free option, but the texture might be slightly different. Do make sure to use chilled coconut cream for best results!
Can I Toast the Marshmallows in the Oven?
Absolutely! Broil the mini marshmallows on a baking sheet for a minute or two, watching closely to prevent burning. Turn them halfway for even toasting, then let them cool before adding to the ice cream mixture.
How Long Can I Store Leftover Ice Cream?
Store any leftover ice cream in a tightly sealed container in the freezer for up to two weeks. Just remember to let it sit out for a few minutes before scooping, as it will be very hard straight from the freezer!
Can I Add Other Mix-Ins?
Definitely! Feel free to stir in chocolate chips, crushed graham crackers, or even nuts after mixing in the marshmallow creme. Just fold them gently to maintain the fluffy texture of the ice cream.