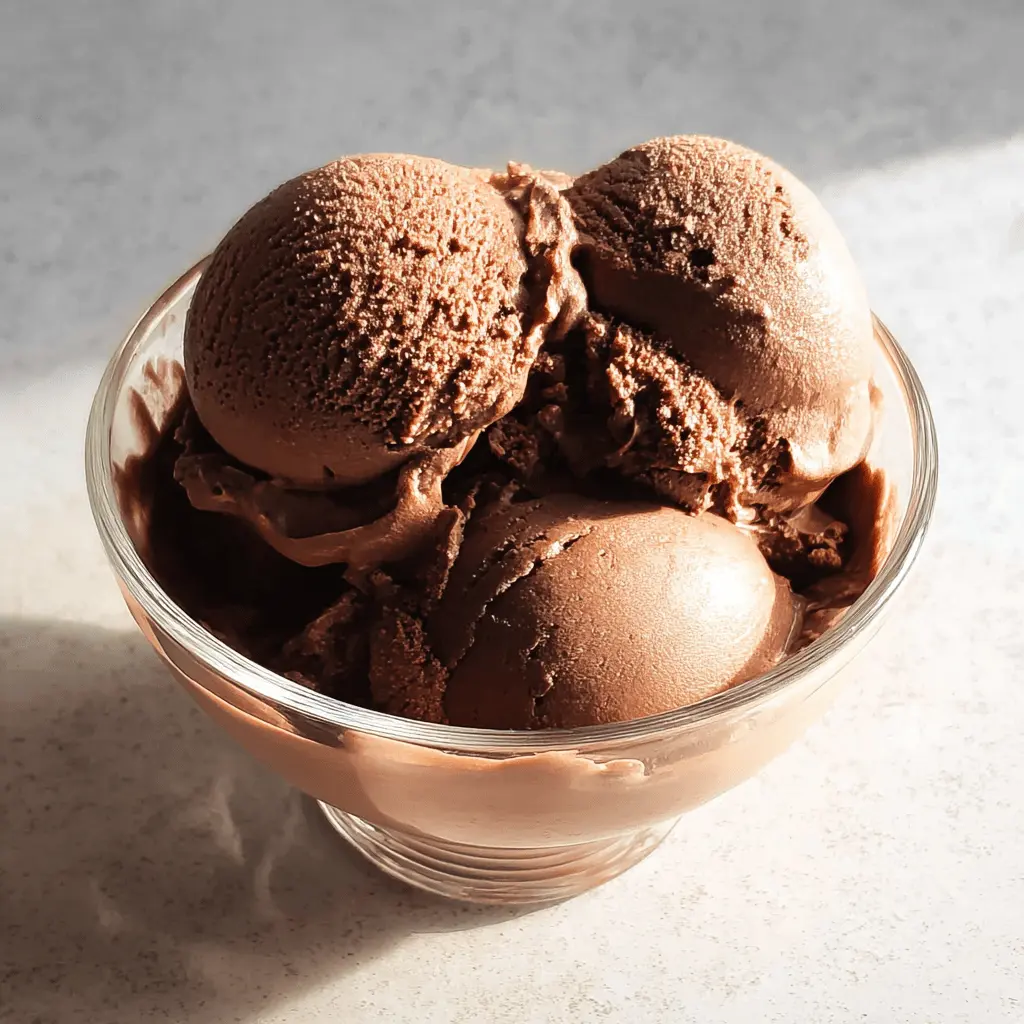
This easy homemade chocolate ice cream is creamy and rich, perfect for a hot day! With simple ingredients like cocoa powder and cream, it’s a treat everyone loves.
Making ice cream at home feels like magic! I love scooping it into bowls and adding a few chocolate chips on top for extra fun. Can’t resist the chocolate goodness! 🍫
Key Ingredients & Substitutions
Heavy Cream: This adds the creaminess to your ice cream. If you want a lighter version, you can use half-and-half, but the texture won’t be quite the same. I always go with heavy cream for that thick, rich flavor!
Whole Milk: This helps to balance the creaminess of the heavy cream. You can substitute it with almond milk or oat milk for a dairy-free version, but keep in mind it might change the texture a bit.
Cocoa Powder: Unsweetened cocoa powder is essential for that chocolatey flavor. If you’re looking for a less intense flavor, you can reduce the amount or use a lighter cocoa powder. I’ve also used Dutch-processed cocoa for a smoother taste.
Granulated Sugar: This sweetens your ice cream. If you’re aiming for a healthier option, you can use coconut sugar or a sugar substitute, but taste and texture might vary.
Vanilla Extract: Freshness matters! Use pure vanilla for the best aroma. If you only have imitation vanilla on hand, it’ll still work, but I always favor the pure stuff for its deeper flavor.
How Do You Get Creamy Ice Cream Without an Ice Cream Maker?
No ice cream maker? No problem! You can still make delicious ice cream. After mixing your ingredients, pour them into a large, shallow dish or a loaf pan.
- Put it in the freezer and every 30 minutes, stir with a fork to break up any ice crystals.
- Repeat this process for about 3-4 hours until your ice cream reaches the desired consistency.
This technique gives you a nice texture, and you can enjoy homemade chocolate ice cream even without fancy equipment!
Easy Homemade Chocolate Ice Cream
Ingredients You’ll Need:
- 2 cups heavy cream
- 1 cup whole milk
- 3/4 cup granulated sugar
- 1/2 cup unsweetened cocoa powder
- 1 teaspoon pure vanilla extract
- Pinch of salt
- Optional: 1/2 cup mini chocolate chips or chopped dark chocolate
How Much Time Will You Need?
This recipe takes about 10 minutes of prep time and at least 4 hours to freeze. For the best results, refrigerate the mixture for a couple of hours or overnight before churning. You’ll be enjoying your delicious chocolate ice cream in no time!
Step-by-Step Instructions:
1. Mix the Dry Ingredients:
In a medium bowl, combine the granulated sugar, unsweetened cocoa powder, and a pinch of salt. Whisk these together until they’re well mixed and free of lumps. This step is important to ensure your ice cream has a smooth texture.
2. Add the Milk:
Gradually whisk in the whole milk. Keep mixing until the sugar and cocoa are fully dissolved, and the mixture is nice and smooth. This is where the chocolate flavor starts to come together!
3. Add Cream and Vanilla:
Next, stir in the heavy cream and the pure vanilla extract. Mix everything together until it’s well blended, and you have a uniform chocolate mixture that smells heavenly!
4. Chill the Mixture:
Cover the bowl with plastic wrap or a lid and place it in the refrigerator. Let it chill for at least 2 hours, or even better, overnight. Chilling helps to develop the flavors and prepares the mixture for churning!
5. Churn the Ice Cream:
Once chilled, pour the mixture into your ice cream maker. Churn it according to the manufacturer’s instructions, which usually takes around 20-25 minutes. You’ll notice it thickening and getting a soft-serve texture!
6. Add Chocolate Chips:
If you want to add mini chocolate chips or chopped dark chocolate, fold them in during the last few minutes of churning. They add a delightful crunch to your ice cream!
7. Freeze the Ice Cream:
Transfer the churned ice cream into an airtight container. Smooth the top, seal it, and place it in the freezer. Let it freeze for at least 4 hours, or until it’s firm enough to scoop.
8. Serve and Enjoy:
Before serving, let the ice cream sit at room temperature for about 5-10 minutes. This will make it easier to scoop. Then, scoop it into bowls or cones, and enjoy your rich, creamy homemade chocolate ice cream! It’s sure to be a hit!

FAQ for Easy Homemade Chocolate Ice Cream
Can I Use Low-Fat Milk Instead of Whole Milk?
While you can use low-fat milk, it will result in a less creamy texture. For the best results, stick with whole milk or try combining it with some cream to maintain the rich flavor.
How Long Can I Store Leftover Ice Cream?
You can store leftover ice cream in an airtight container in the freezer for up to 2 weeks. For optimal flavor and texture, try to consume it sooner, as homemade ice cream can become icy over time.
Can I Make This Ice Cream Without an Ice Cream Maker?
Absolutely! Just pour the mixture into a shallow dish and freeze it. Every 30 minutes, stir it with a fork to break up any ice crystals until it reaches your desired consistency, which usually takes about 3-4 hours.
What Can I Substitute for Sugar?
If you’re looking for a sugar substitute, you can use coconut sugar or stevia. Keep in mind that the flavor and texture may vary slightly, but it’s a great way to make it a bit healthier!