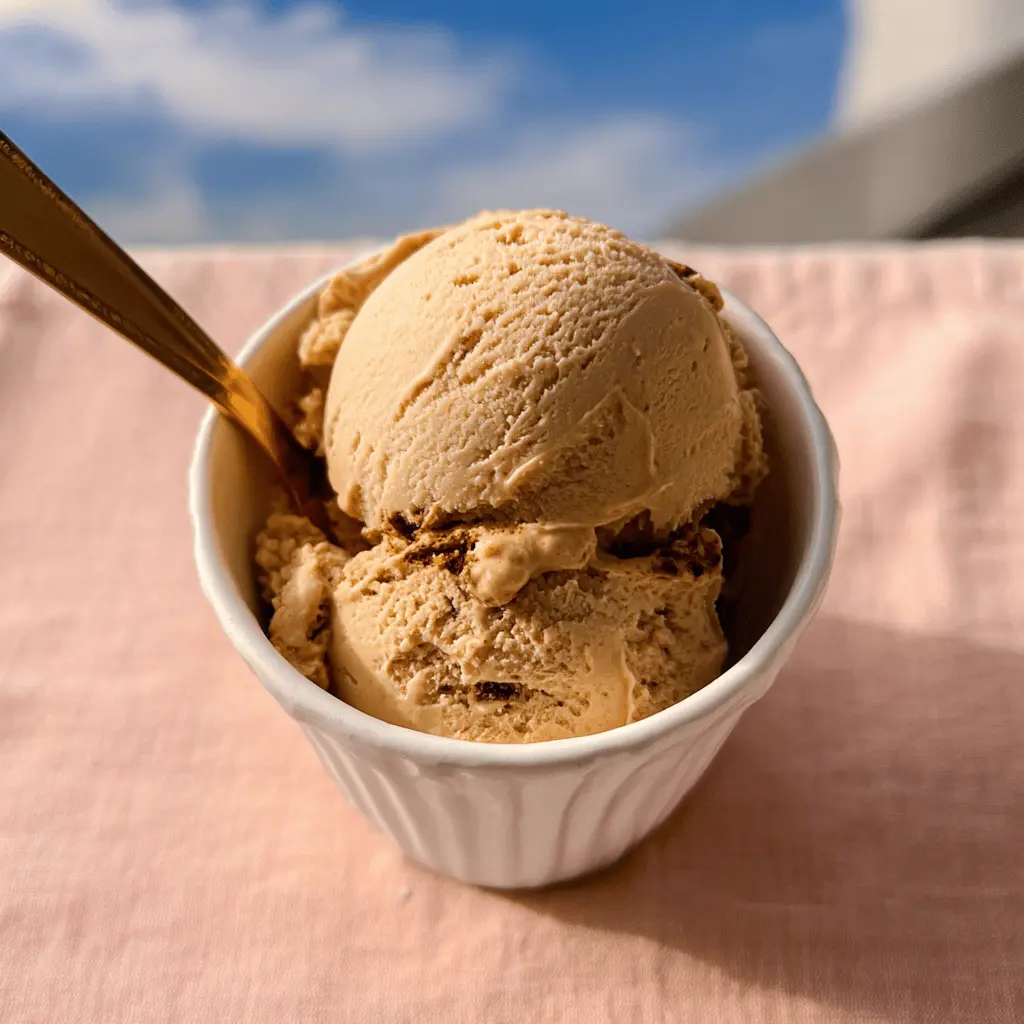
This Easy Bold Coffee Ice Cream is a treat for coffee lovers! It’s creamy, rich, and packed with a strong coffee flavor that feels like a hug on a warm day.
Making it is a breeze—just mix the ingredients and let your freezer work its magic. I enjoy scooping it on a sunny afternoon, and it’s perfect for sharing with friends (if you want to!). ☕️🍦
Ingredients & Substitutions
Heavy Cream: This gives the ice cream its rich creaminess. If you’re looking for a lighter option, you can try using half-and-half or whole milk, but the texture might be less creamy.
Whole Milk: Using whole milk adds to the creaminess. If you want a dairy-free version, almond milk or oat milk can work, but they’ll alter the flavor slightly.
Granulated Sugar: Regular sugar is best for this recipe, but you could use coconut sugar or a sugar substitute if you’re reducing sugar intake. Just be mindful that it could affect the flavor and texture.
Instant Coffee Granules: For a bolder flavor, feel free to use espresso powder instead. If you prefer less coffee flavor, simply reduce the amount.
Vanilla Extract: This adds depth. If you’re out, you can leave it out, but it might dim the overall flavor a bit.
How Can I Ensure My Ice Cream Is Creamy and Not Icy?
The key to creamy ice cream is to incorporate enough air during churning and freeze it properly. Here’s how:
- Mix your base well to get a homogenous blend.
- Churn in your ice cream maker until it’s a soft-serve texture—don’t rush this step!
- Transfer to an airtight container and press plastic wrap directly onto the surface before sealing to minimize ice crystals from forming.
Let it sit out for a few minutes before serving to soften just enough for easy scooping. Enjoy the smooth, creamy texture!
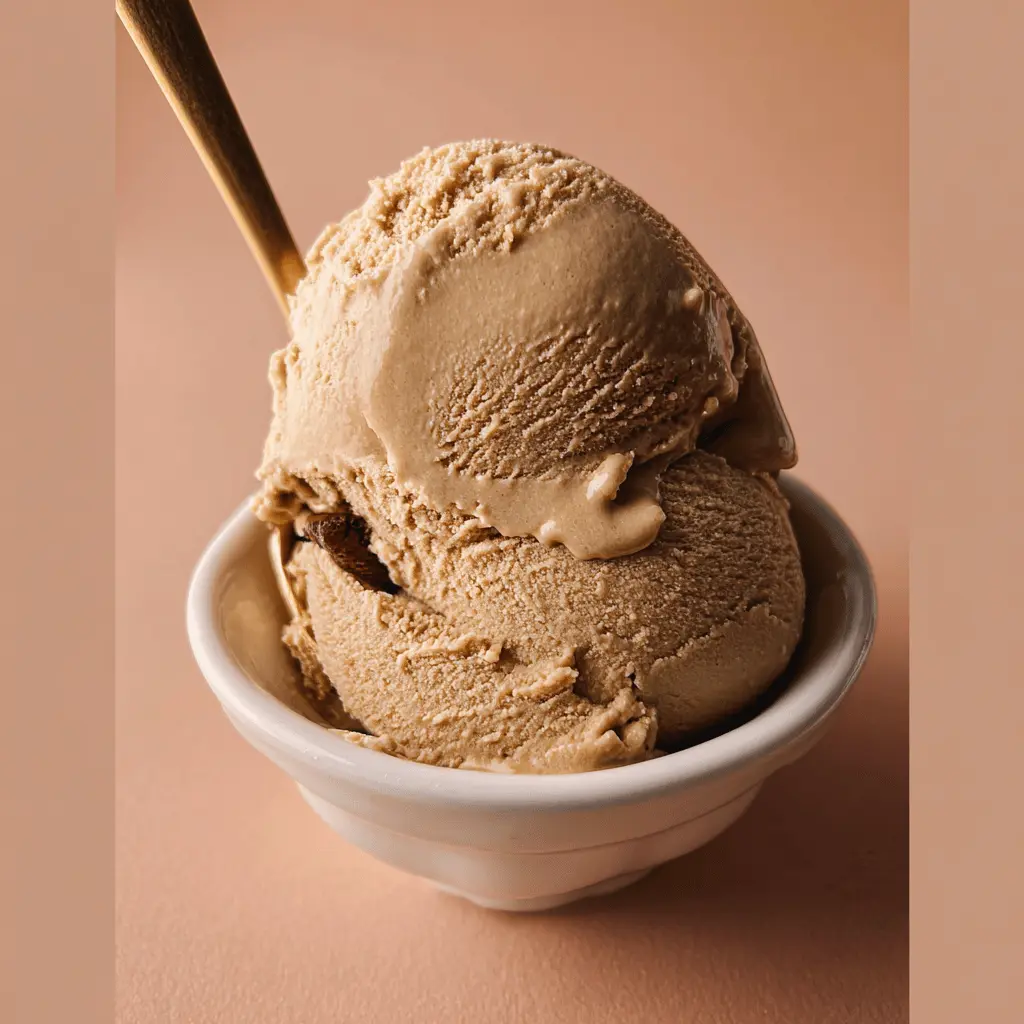
Easy Bold Coffee Ice Cream
Ingredients You’ll Need:
- 2 cups heavy cream
- 1 cup whole milk
- 3/4 cup granulated sugar
- 2 tablespoons instant coffee granules (adjust for boldness)
- 1 teaspoon pure vanilla extract
- Pinch of salt
How Much Time Will You Need?
This delicious Easy Bold Coffee Ice Cream takes about 10 minutes of preparation plus 20–25 minutes to churn in the ice cream maker and at least 4 hours to freeze until firm. So, in total, you’re looking at about 4 hours and 35 minutes before you can dig in, but most of that time is just waiting!
Step-by-Step Instructions:
1. Mix the Coffee and Sugar:
Start by grabbing a medium bowl. Whisk together the sugar and instant coffee granules until they are well combined. This step helps to ensure that the coffee flavor is evenly distributed throughout your ice cream.
2. Add the Milk:
Pour the whole milk into the bowl with the coffee-sugar mixture. Whisk it all together until the sugar and coffee have completely dissolved. You want to make sure there are no grainy bits left!
3. Combine with Cream and Flavoring:
Now it’s time to add in the heavy cream. Pour it in along with the vanilla extract and a pinch of salt. Give everything a good mix until all the ingredients are well blended. You should have a nice, smooth mixture ready to churn!
4. Churn the Ice Cream:
Pour your creamy coffee mixture into the ice cream maker. Follow the manufacturer’s instructions to churn it until it’s fluffy and reaches a soft-serve consistency. This usually takes about 20–25 minutes, but keep an eye on it!
5. Freeze Until Firm:
Once the ice cream is churned, transfer it to an airtight container. Make sure to cover it well and pop it into the freezer. Let it freeze for at least 4 hours or until it’s firm enough to scoop.
6. Scoop and Enjoy:
Before serving, let the ice cream sit out for a few minutes to soften slightly, which makes it easier to scoop. Then, grab a scoop and dive into your delicious homemade coffee ice cream. Enjoy every creamy bite!
Can I Use Decaf Coffee Granules Instead?
Absolutely! If you prefer to enjoy this ice cream without the caffeine kick, feel free to substitute regular instant coffee with decaf instant coffee granules. The flavor will still be delightful!
What If I Don’t Have an Ice Cream Maker?
No problem! You can still make this ice cream without an ice cream maker. Simply pour the mixture into a shallow dish, freeze it for about 30 minutes, then remove and stir vigorously with a fork. Repeat this process every 30 minutes until it reaches the desired consistency—about 4-5 times total.
How to Store Leftover Ice Cream?
Store any leftover ice cream in an airtight container, making sure to press plastic wrap directly onto the surface to prevent ice crystals from forming. It can be kept in the freezer for up to 2 weeks, though it’s best enjoyed within a week for optimal freshness!
Can I Add Mix-Ins to My Ice Cream?
Definitely! Feel free to mix in chocolate chips, crushed cookies, or nuts during the last few minutes of churning for added texture and flavor. Just keep in mind that it may change the overall consistency slightly.